创建多module项目说明
在开发过程中,我们有的时候可能需要创建多module项目,为了方便管理每个module的jar包版本。
我们可以使用sring官方提供的io.spring.platform和org.springframework.cloud来为我们的jar包做统一管理。
我们可以在spring官方看到https://spring.io/projects/platform。这里提示说官方已经不再提platform平台的支持。而且也给出了建议。
当然我们仍然可以继续使用,最后一个正式版是Cairo-SR7,对应的springboot版本是2.0.8。
从官方维护的springcloud平台可知,Finchley版本对应springboot的版本号为2.0.x。我们的项目正是使用Cairo-SR7和Finchley来做统一jar包管理
如何使用idea创建多module项目
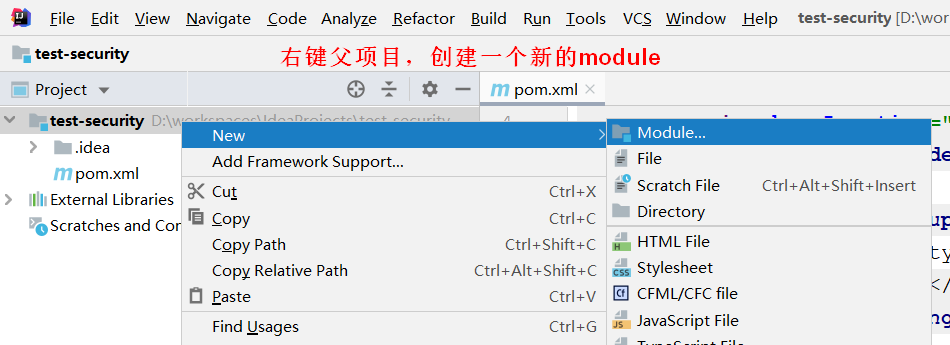
1.创建父module
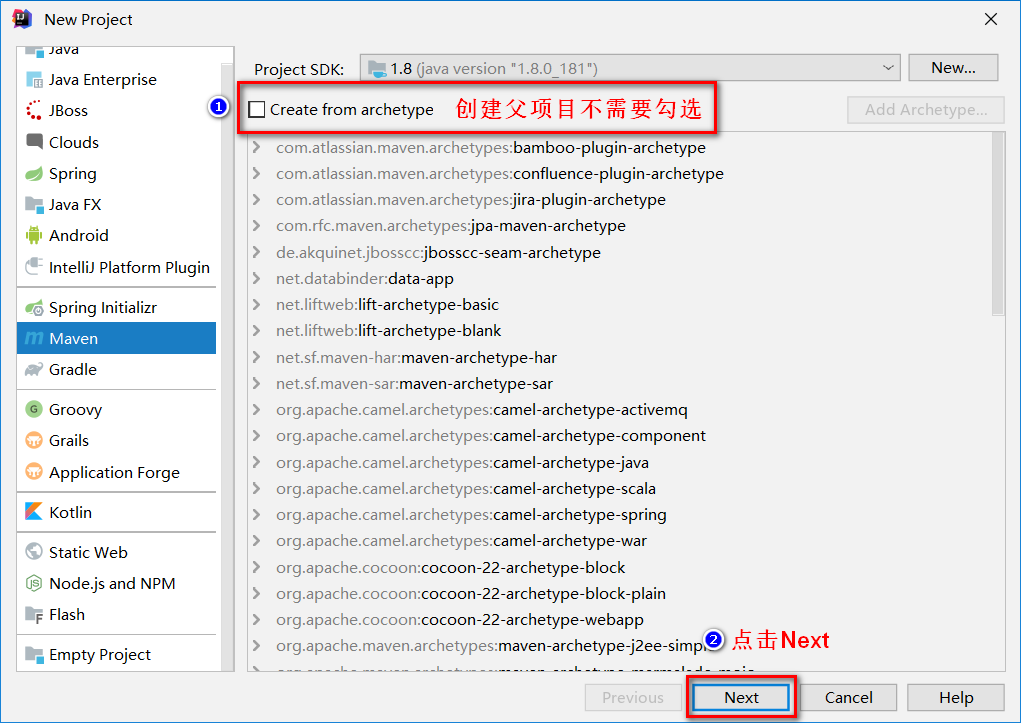
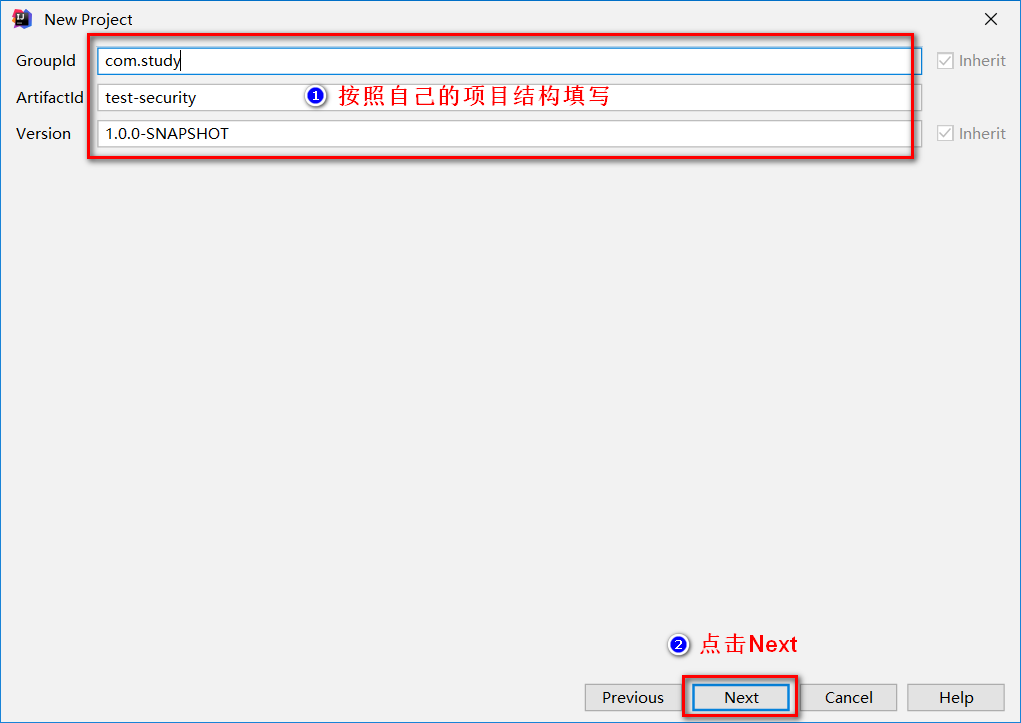
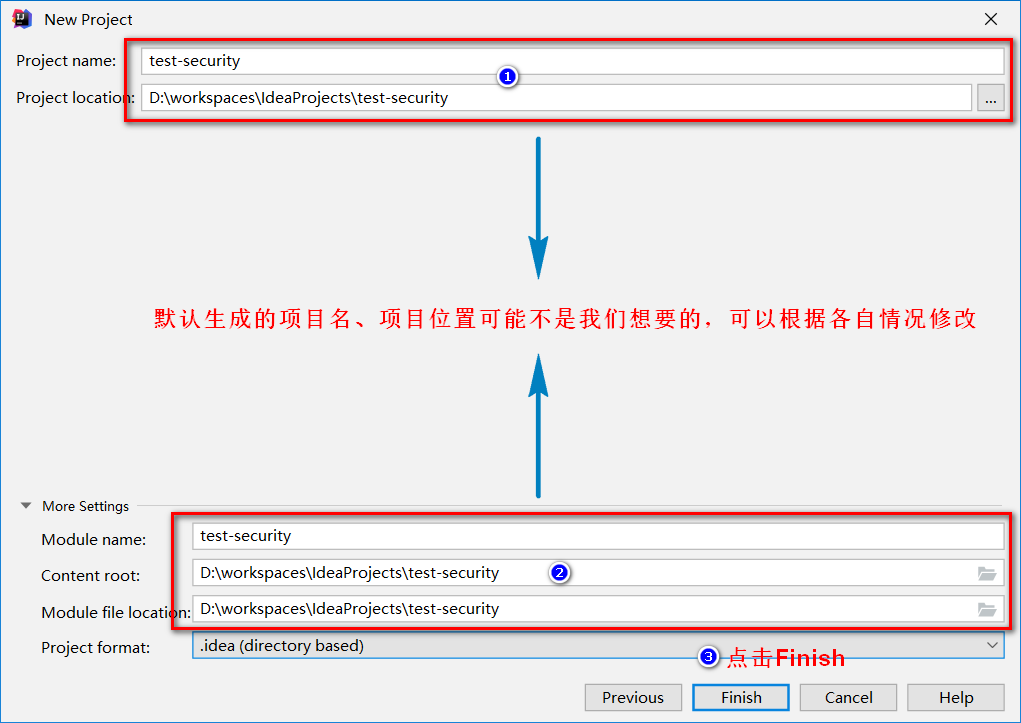
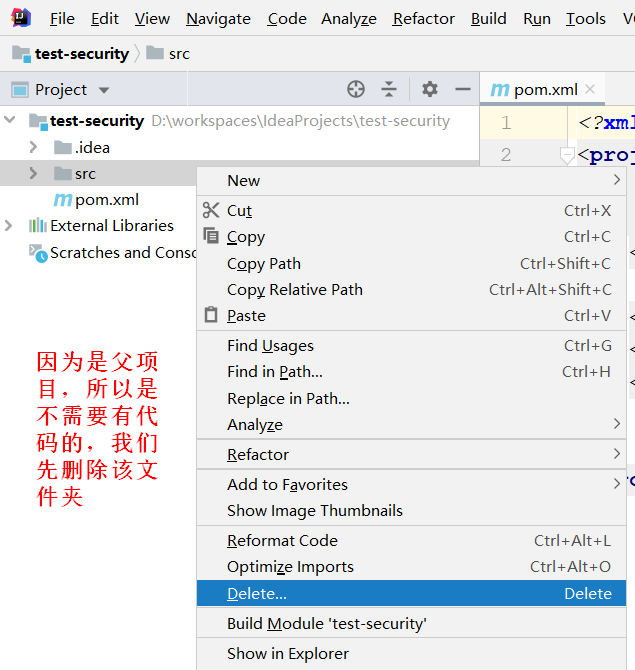
按照所截图步骤,我们需要修改pom.xml文件,使之成为父module,并设置版本管理。
<?xml version="1.0" encoding="UTF-8"?>
<project xmlns="http://maven.apache.org/POM/4.0.0"
         xmlns:xsi="http://www.w3.org/2001/XMLSchema-instance"
         xsi:schemaLocation="http://maven.apache.org/POM/4.0.0 http://maven.apache.org/xsd/maven-4.0.0.xsd">
    <modelVersion>4.0.0</modelVersion>

    <groupId>com.study</groupId>
    <artifactId>test-security</artifactId>
    <version>1.0.0-SNAPSHOT</version>
    <packaging>pom</packaging>

    <properties>
        <test.security.version>1.0.0-SNAPSHOT</test.security.version>
    </properties>

    <dependencyManagement>
        <dependencies>
            <dependency>
                <groupId>io.spring.platform</groupId>
                <artifactId>platform-bom</artifactId>
                <version>Cairo-SR7</version>
                <type>pom</type>
                <scope>import</scope>
            </dependency>
            <dependency>
                <groupId>org.springframework.cloud</groupId>
                <artifactId>spring-cloud-dependencies</artifactId>
                <version>Finchley.SR4</version>
                <type>pom</type>
                <scope>import</scope>
            </dependency>
        </dependencies>
    </dependencyManagement>

    <build>
        <plugins>
            <plugin>
                <groupId>org.apache.maven.plugins</groupId>
                <artifactId>maven-compiler-plugin</artifactId>
                <version>3.8.1</version>
                <configuration>
                    <source>1.8</source>
                    <target>1.8</target>
                    <encoding>UTF-8</encoding>
                </configuration>
            </plugin>
        </plugins>
    </build>

</project>
这里需要注意的是<packaging>pom</packaging>、<build>...</build>以及<dependencyManagement>...</dependencyManagement>中的内容。
2.创建子module
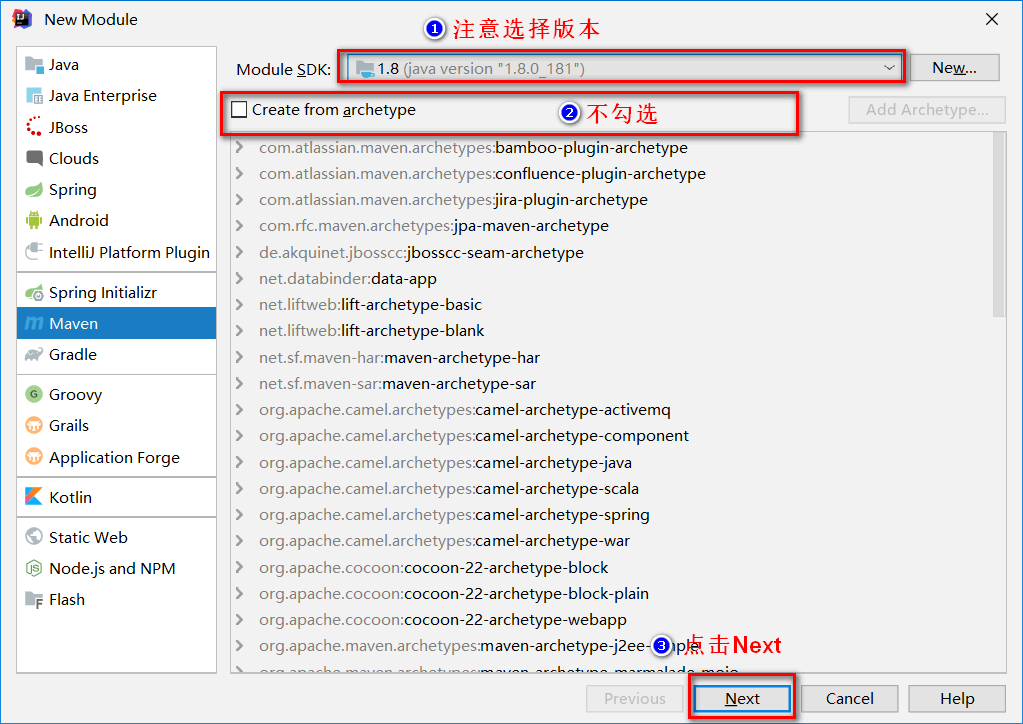
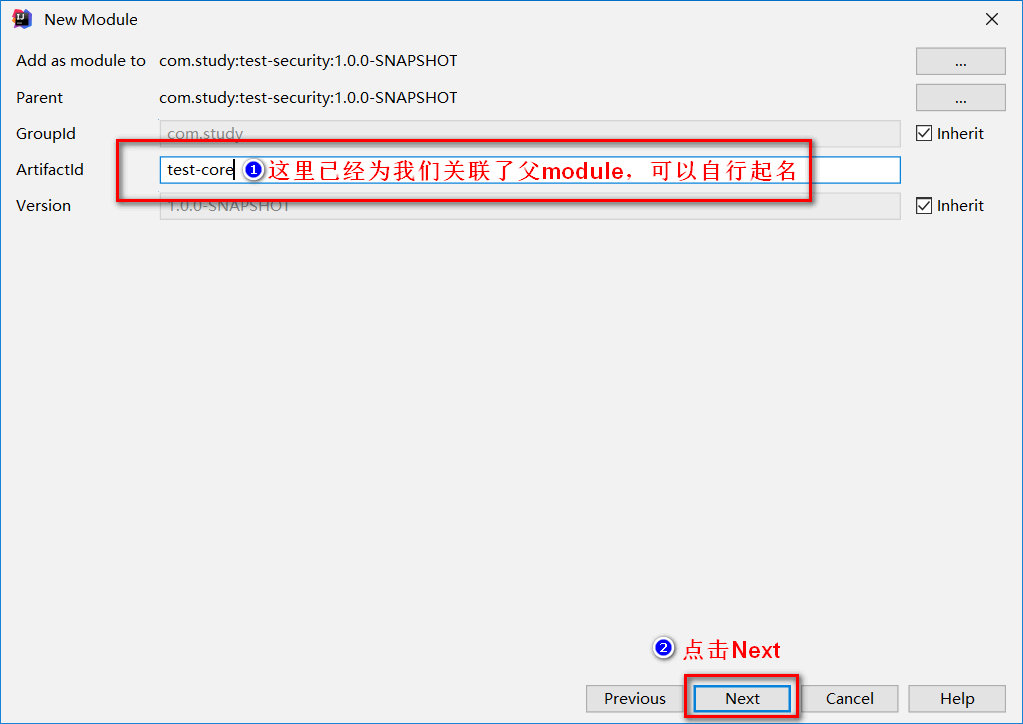
我们可以创建一个核心module,里面引入了项目所需要的主要jar包,并且可以将项目的主要逻辑写入其中。
然后我们可以再按照相同方式创建其他一些子module,并且,如果子module中需要使用特殊的jar包,我们可以单独引入。
下面是test-coremodule的pom文件:
<?xml version="1.0" encoding="UTF-8"?>
<project xmlns="http://maven.apache.org/POM/4.0.0"
         xmlns:xsi="http://www.w3.org/2001/XMLSchema-instance"
         xsi:schemaLocation="http://maven.apache.org/POM/4.0.0 http://maven.apache.org/xsd/maven-4.0.0.xsd">
    <parent>
        <artifactId>test-security</artifactId>
        <groupId>com.study</groupId>
        <version>1.0.0-SNAPSHOT</version>
    </parent>
    <modelVersion>4.0.0</modelVersion>

    <artifactId>test-core</artifactId>

    <dependencies>
        <dependency>
            <groupId>org.springframework.cloud</groupId>
            <artifactId>spring-cloud-starter-oauth2</artifactId>
        </dependency>
        <dependency>
            <groupId>org.springframework.boot</groupId>
            <artifactId>spring-boot-starter-data-redis</artifactId>
        </dependency>
        <dependency>
            <groupId>org.springframework.boot</groupId>
            <artifactId>spring-boot-starter-jdbc</artifactId>
        </dependency>
        <dependency>
            <groupId>mysql</groupId>
            <artifactId>mysql-connector-java</artifactId>
        </dependency>
        <dependency>
            <groupId>org.springframework.social</groupId>
            <artifactId>spring-social-config</artifactId>
        </dependency>
        <dependency>
            <groupId>org.springframework.social</groupId>
            <artifactId>spring-social-core</artifactId>
        </dependency>
        <dependency>
            <groupId>org.springframework.social</groupId>
            <artifactId>spring-social-security</artifactId>
        </dependency>
        <dependency>
            <groupId>org.springframework.social</groupId>
            <artifactId>spring-social-web</artifactId>
        </dependency>
        <dependency>
            <groupId>commons-lang</groupId>
            <artifactId>commons-lang</artifactId>
        </dependency>
        <dependency>
            <groupId>commons-collections</groupId>
            <artifactId>commons-collections</artifactId>
        </dependency>
        <dependency>
            <groupId>commons-beanutils</groupId>
            <artifactId>commons-beanutils</artifactId>
        </dependency>
        <dependency>
            <groupId>org.springframework.boot</groupId>
            <artifactId>spring-boot-configuration-processor</artifactId>
        </dependency>
        <dependency>
            <groupId>org.projectlombok</groupId>
            <artifactId>lombok</artifactId>
        </dependency>
    </dependencies>


</project>
同理我们可以用创建其他几个子module。并分别列出各自的pom文件
test-browser模块,pom文件如下:
<?xml version="1.0" encoding="UTF-8"?>
<project xmlns="http://maven.apache.org/POM/4.0.0"
         xmlns:xsi="http://www.w3.org/2001/XMLSchema-instance"
         xsi:schemaLocation="http://maven.apache.org/POM/4.0.0 http://maven.apache.org/xsd/maven-4.0.0.xsd">
    <parent>
        <artifactId>test-security</artifactId>
        <groupId>com.study</groupId>
        <version>1.0.0-SNAPSHOT</version>
    </parent>
    <modelVersion>4.0.0</modelVersion>

    <artifactId>test-browser</artifactId>

    <dependencies>
        <dependency>
            <groupId>com.study</groupId>
            <artifactId>test-core</artifactId>
            <version>${test.security.version}</version>
        </dependency>
        <dependency>
            <groupId>org.springframework.session</groupId>
            <artifactId>spring-session</artifactId>
            <version>1.3.4.RELEASE</version>
        </dependency>
    </dependencies>

</project>
test-App模块,pom文件如下:
<?xml version="1.0" encoding="UTF-8"?>
<project xmlns="http://maven.apache.org/POM/4.0.0"
         xmlns:xsi="http://www.w3.org/2001/XMLSchema-instance"
         xsi:schemaLocation="http://maven.apache.org/POM/4.0.0 http://maven.apache.org/xsd/maven-4.0.0.xsd">
    <parent>
        <artifactId>test-security</artifactId>
        <groupId>com.study</groupId>
        <version>1.0.0-SNAPSHOT</version>
    </parent>
    <modelVersion>4.0.0</modelVersion>

    <artifactId>test-app</artifactId>

    <dependencies>
        <dependency>
            <groupId>com.study</groupId>
            <artifactId>test-core</artifactId>
            <version>${test.security.version}</version>
        </dependency>
    </dependencies>

</project>
test-demo模块,pom文件如下:
<?xml version="1.0" encoding="UTF-8"?>
<project xmlns="http://maven.apache.org/POM/4.0.0"
         xmlns:xsi="http://www.w3.org/2001/XMLSchema-instance"
         xsi:schemaLocation="http://maven.apache.org/POM/4.0.0 http://maven.apache.org/xsd/maven-4.0.0.xsd">
    <parent>
        <artifactId>test-security</artifactId>
        <groupId>com.study</groupId>
        <version>1.0.0-SNAPSHOT</version>
    </parent>
    <modelVersion>4.0.0</modelVersion>

    <artifactId>test-demo</artifactId>

    <dependencies>
        <dependency>
            <groupId>com.study</groupId>
            <artifactId>test-browser</artifactId>
            <version>${test.security.version}</version>
        </dependency>
        <dependency>
            <groupId>org.springframework.boot</groupId>
            <artifactId>spring-boot-starter-test</artifactId>
        </dependency>
        <dependency>
            <groupId>org.springframework.boot</groupId>
            <artifactId>spring-boot-starter-data-jpa</artifactId>
        </dependency>
        <dependency>
            <groupId>org.springframework.boot</groupId>
            <artifactId>spring-boot-starter-thymeleaf</artifactId>
        </dependency>
        <dependency>
            <groupId>io.springfox</groupId>
            <artifactId>springfox-swagger2</artifactId>
            <version>2.9.2</version>
        </dependency>
        <dependency>
            <groupId>io.springfox</groupId>
            <artifactId>springfox-swagger-ui</artifactId>
            <version>2.9.2</version>
        </dependency>
        <dependency>
            <groupId>commons-io</groupId>
            <artifactId>commons-io</artifactId>
        </dependency>
        <dependency>
            <groupId>com.alibaba</groupId>
            <artifactId>fastjson</artifactId>
            <version>1.2.58</version>
        </dependency>
    </dependencies>


</project>
经过上述步骤,我们就成功创建了如下结构的多module项目:
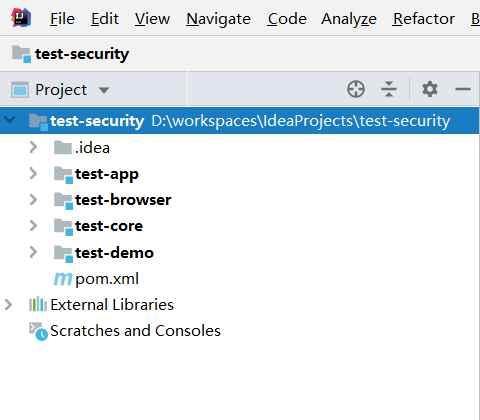
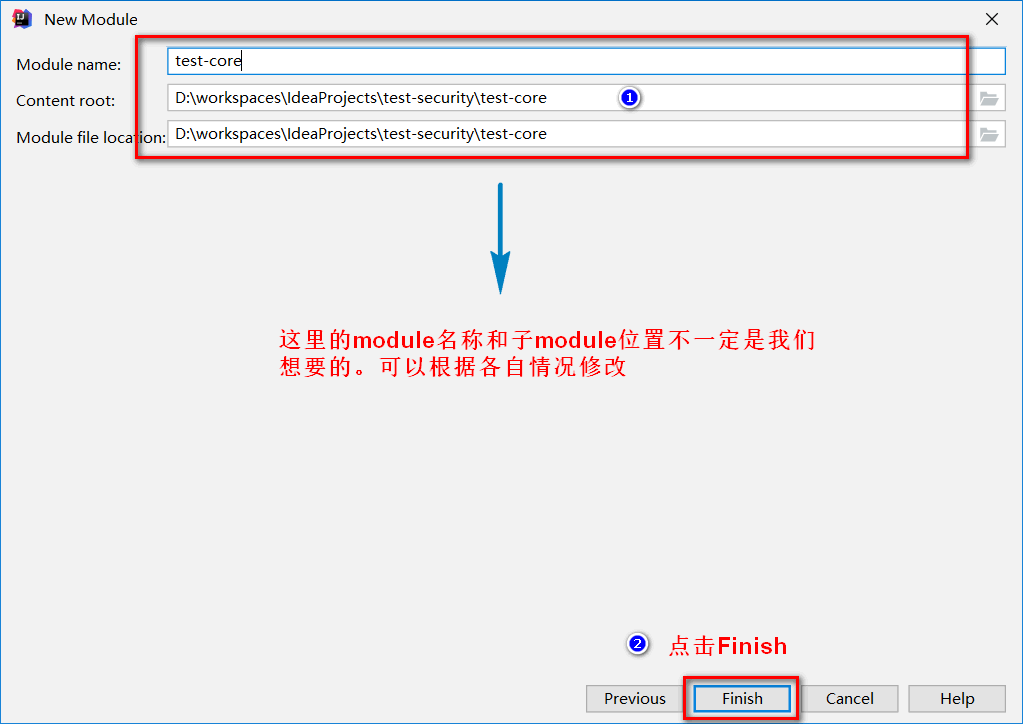
当然如果需要看到子模块和父模块是平级的,那么我们在创建子module时,就需要修改子module的存储位置。
我们可以将各个module简单理解为:
test-security【主模块–用来管理jar版本和编译环境】
test-core【核心业务逻辑】
test-browser【浏览器相关的特定代码】
test-app【app相关特定代码】
test-demo【演示项目-启动项目】
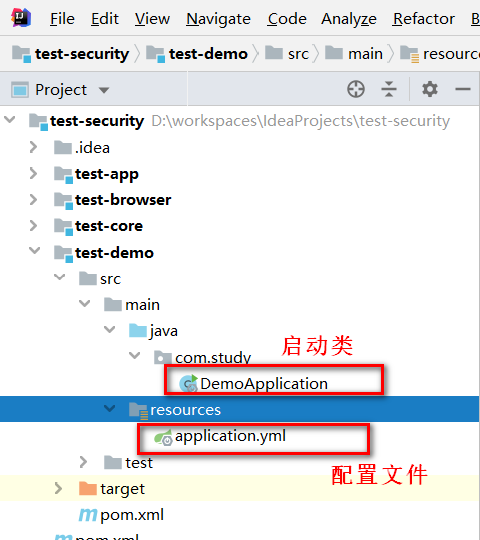
创建启动类-springboot
多module项目我们已经成功创建了,接下来就是创建启动类了。我们在示例module中创建启动类,并创建配置文件:
启动类代码:
package com.study;

import org.springframework.boot.SpringApplication;
import org.springframework.boot.autoconfigure.SpringBootApplication;

@SpringBootApplication
public class DemoApplication {
    public static void main(String[] args) {
        SpringApplication.run(DemoApplication.class, args);
    }
}
此时,我们直接启动项目,会出现一个错误
Error starting Tomcat context. Exception: org.springframework.beans.factory.UnsatisfiedDependencyException. Message: Error creating bean with name 'sessionRepositoryFilterRegistration' defined ...
这里是因为我们在test-browser中使用了session管理,但是我们暂时还没有用到,所以我们在配置问中写入如下代码:
spring:
  #session管理
  session:
    store-type: none
此时再次启动,会发现之前的异常消失了,但是又出现了如下异常。
Error starting Tomcat context. Exception: org.springframework.beans.factory.BeanCreationException. Message: Error creating bean with name 'servletEndpointRegistrar' defined in class path resource [org/springframework/boot/actuate/autoconfigure/endpoint/web/ServletEndpointManagementContextConfiguration$WebMvcServletEndpointManagementContextConfiguration.class]: Bean instantiation via factory method failed; nested exception is org.springframework.beans.BeanInstantiationException: Failed to instantiate [org.springframework.boot.actuate.endpoint.web.ServletEndpointRegistrar]: Factory method 'servletEndpointRegistrar' threw exception; nested exception is org.springframework.beans.factory.BeanCreationException: Error creating bean with name 'healthEndpoint' defined in class path resource [org/springframework/boot/actuate/autoconfigure/health/HealthEndpointConfiguration.class]: Bean instantiation via factory method failed; nested exception is org.springframework.beans.BeanInstantiationException: Failed to instantiate [org.springframework.boot.actuate.health.HealthEndpoint]: Factory method 'healthEndpoint' threw exception; nested exception is org.springframework.beans.factory.BeanCreationException: Error creating bean with name 'org.springframework.boot.actuate.autoconfigure.jdbc.DataSourceHealthIndicatorAutoConfiguration': Bean instantiation via constructor failed; nested exception is org.springframework.beans.BeanInstantiationException: Failed to instantiate [org.springframework.boot.actuate.autoconfigure.jdbc.DataSourceHealthIndicatorAutoConfiguration$$EnhancerBySpringCGLIB$$de709feb]: Constructor threw exception; nested exception is org.springframework.beans.factory.BeanCreationException: Error creating bean with name 'dataSource': Post-processing of FactoryBean's singleton object failed; nested exception is org.springframework.beans.factory.BeanCreationException: Error creating bean with name 'scopedTarget.dataSource' defined in class path resource [org/springframework/boot/autoconfigure/jdbc/DataSourceConfiguration$Hikari.class]: Bean instantiation via factory method failed; nested exception is org.springframework.beans.BeanInstantiationException: Failed to instantiate [com.zaxxer.hikari.HikariDataSource]: Factory method 'dataSource' threw exception; nested exception is org.springframework.boot.autoconfigure.jdbc.DataSourceProperties$DataSourceBeanCreationException: Failed to determine a suitable driver class
这是因为,我们还没有配置任何数据库方面的信息。在配置文件中添加如下配置:
spring:
  #session管理
  session:
    store-type: none
  #mysql数据库连接配置
  datasource:
    driver-class-name: com.mysql.jdbc.Driver
    url: jdbc:mysql://localhost:3306/security_demo?useUnicode=true&characterEncoding=utf8&useSSL=false&serverTimezone=UTC
    username: root
    password: 123456
再次运行项目,发现项目能够正常启动了。
原文链接: https://marshucheng1.github.io/2017/03/08/springboot-springsecurity-1/